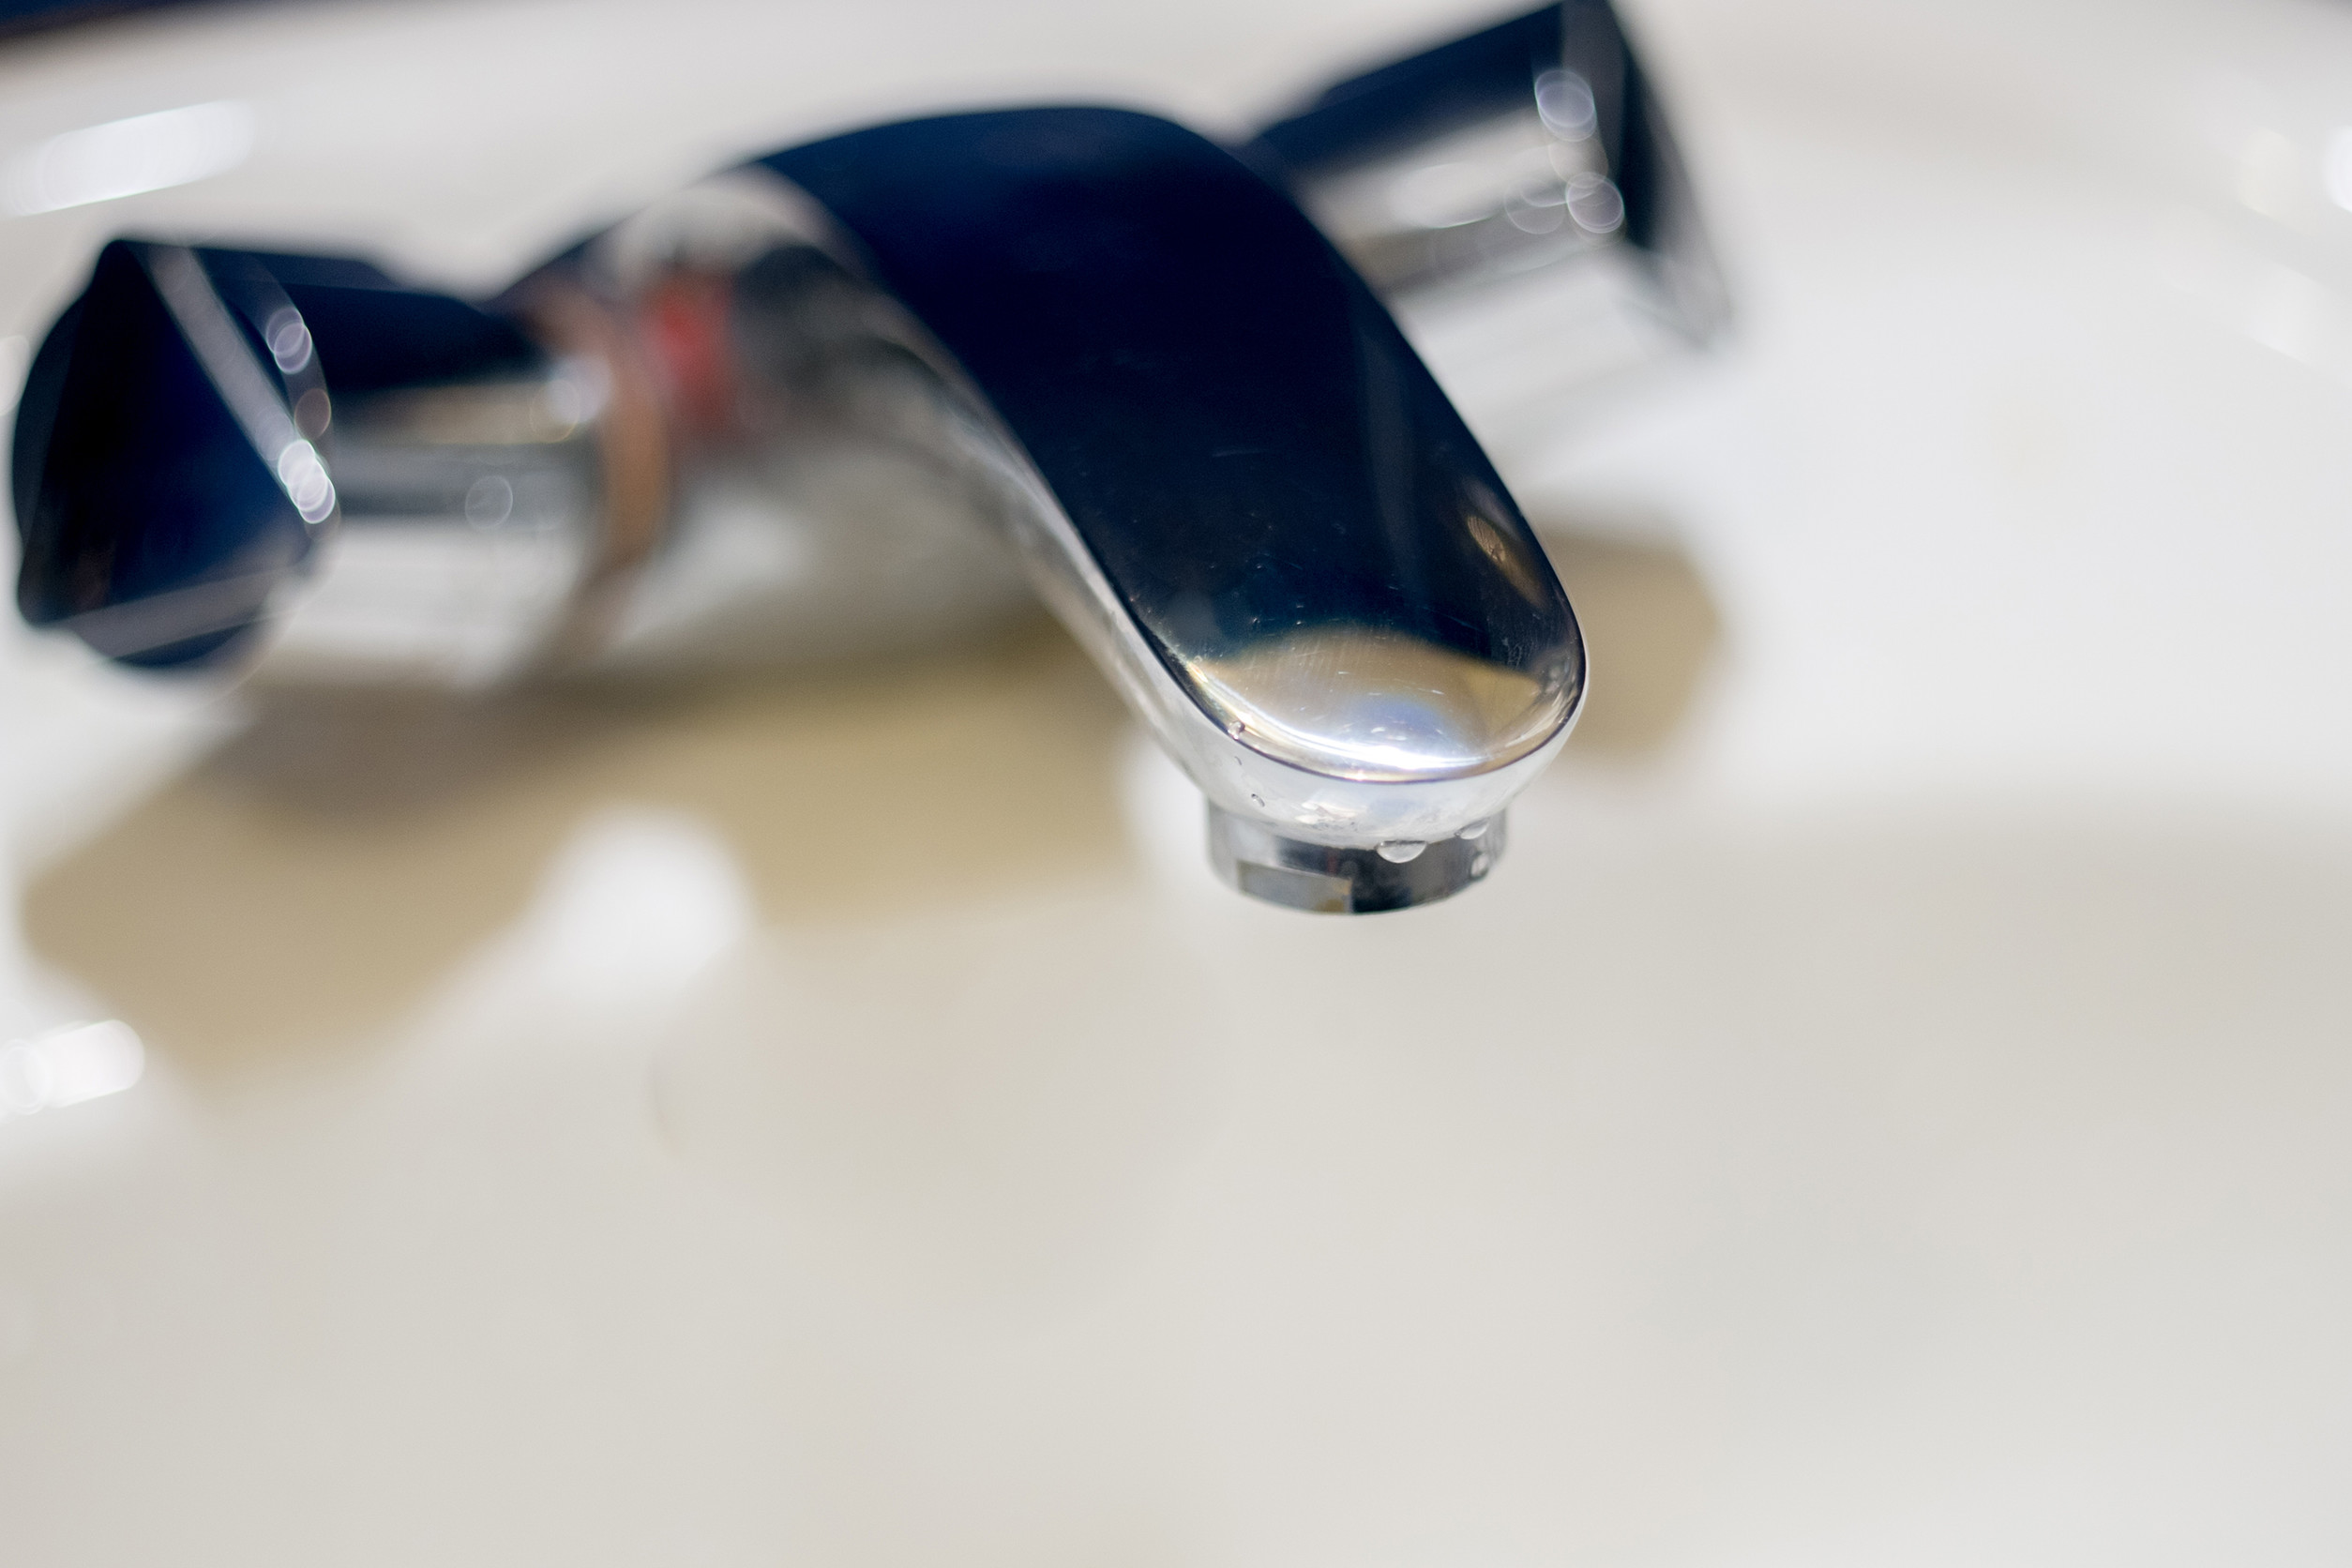
The Best Ways to Fix a Leaky Faucet Yourself
A dripping faucet can drive you crazy. The steady plink of water hitting the sink in the middle of the night is not just annoying—it’s wasteful. According to the Environmental Protection Agency, a single leaky faucet can waste more than 3,000 gallons of water per year. That is money literally going down the drain.
The good news is that many minor faucet leaks can be fixed at home with a few tools, a little patience, and some know-how. In this guide, you will learn the most effective ways to repair a leaky faucet yourself, including how to identify the type of faucet you have, what parts to check, and step-by-step instructions for simple fixes.
However, not all leaks are simple. Some problems require professional tools or expertise to prevent further damage. We’ll also cover when it is time to call the pros at Advanced Heat, AC, & Plumbing—and why doing so can actually save you time, money, and frustration in the long run.
Understanding Why Faucets Leak
Before grabbing your wrench, it helps to understand what causes a faucet to leak in the first place. Most leaks happen when internal components such as washers, O-rings, or seals wear out over time. Hard water, constant use, and mineral buildup can all contribute to this wear.
Other causes include:
- Loose or corroded valve seats
- Faulty cartridges
- Damaged gaskets or seals
- High water pressure stressing faucet components
Knowing what’s behind the leak will help you fix it correctly and prevent the problem from coming back.
Identify Your Faucet Type
Different faucets use different internal mechanisms, which means the repair process varies. Start by identifying which type of faucet you have.
1. Compression Faucet
This is the oldest and most common type, usually found in utility sinks or older homes. It has two handles—one for hot and one for cold. You open and close each valve by turning the handles, which compress rubber washers to stop water flow.
Common problem: Worn washers or valve seats.
2. Cartridge Faucet
Cartridge faucets have one or two handles that control water flow and temperature by moving a cartridge inside.
Common problem: Damaged cartridge or worn O-rings.
3. Ball Faucet
Often found in kitchen sinks, this single-handle design uses a rotating ball inside the faucet body to control temperature and flow.
Common problem: Worn seals or springs inside the ball assembly.
4. Ceramic Disk Faucet
A modern, durable design that uses two ceramic disks to regulate water flow.
Common problem: Debris buildup or damaged seals around the disks.
Once you know your faucet type, you can gather the right tools and replacement parts.
Tools and Supplies You’ll Need
Before starting your repair, gather everything you might need:
- Adjustable wrench or basin wrench
- Screwdrivers (Phillips and flathead)
- Plumber’s grease
- Replacement parts (washers, cartridges, O-rings)
- Towels or rags
- Bucket (to catch drips)
- Allen wrench set (for single-handle faucets)
- White vinegar (for cleaning mineral buildup)
Having the right tools on hand makes the job faster and prevents accidental damage.
Step-by-Step: How to Fix a Leaky Compression Faucet
If you have a two-handle faucet that drips, chances are it is a compression faucet. Here is how to fix it:
- Turn off the water supply.
Locate the shutoff valves under the sink and close them by turning clockwise. Open the faucet handles to relieve pressure. - Plug the drain.
Use a sink stopper or rag to prevent small parts from falling down the drain. - Remove the handles.
Pry off decorative caps, then unscrew and lift the handles. - Loosen the packing nut.
Use your wrench to loosen the nut holding the stem in place. Carefully remove the stem assembly. - Inspect the washer and O-ring.
Look at the rubber washer at the bottom of the stem. If it is cracked or worn, replace it. Check the O-ring as well. - Clean the valve seat.
Mineral buildup can prevent a tight seal. Use vinegar and a soft brush to clean the valve seat. - Reassemble the faucet.
Put everything back together in reverse order and turn on the water to test.
If the leak continues, the valve seat itself might be corroded and need professional resurfacing or replacement.
Fixing a Leaky Cartridge Faucet
Single-handle or two-handle cartridge faucets are common in kitchens and bathrooms.
- Turn off water supply valves.
- Remove the handle.
Use an Allen wrench or screwdriver to remove the handle screw and lift the handle off. - Take off the retaining clip or nut.
Use pliers to remove the retaining clip that holds the cartridge in place. - Pull out the cartridge.
Some cartridges need to be gently pried out. Take note of its orientation before removal. - Replace with an identical cartridge.
Bring the old cartridge to a hardware store to find the right match. - Lubricate O-rings with plumber’s grease before reassembly.
- Reassemble and test the faucet.
Cartridge faucets are easy to repair once you have the correct part. If water still leaks after replacement, internal corrosion may be the cause.
Repairing a Ball Faucet
Ball faucets are slightly more complex due to multiple internal parts, but you can still repair them yourself.
- Shut off the water supply.
- Remove the handle.
Loosen the set screw with an Allen wrench. - Take off the cap and cam assembly.
Use pliers or a special ball faucet repair tool. - Remove the ball and seals.
Check the rubber seats and springs underneath. Replace any that appear worn or damaged. - Clean the valve seat area.
Remove mineral deposits using vinegar. - Reassemble carefully, ensuring springs are seated correctly.
- Test the faucet for leaks.
Ball faucets have many small components, so take photos during disassembly to help with reassembly.
Fixing a Ceramic Disk Faucet
Ceramic disk faucets are durable but can leak if debris gets trapped or seals wear out.
- Turn off the water supply.
- Remove the handle and trim cap.
- Lift out the ceramic disk cylinder.
Inspect the rubber seals and disks. - Clean the seals with vinegar and replace them if worn.
- Reassemble and test.
These faucets are built to last but can be damaged by rough handling. Be gentle and avoid forcing parts.
Testing and Cleaning After Repairs
Once you have reassembled your faucet, it is time to test your work.
- Slowly turn on the water supply.
- Open the faucet and let it run for a few seconds.
- Check for leaks at the base, spout, and handles.
- If water sputters, it may be air trapped in the line. Run it for a minute until flow is steady.
- Clean the aerator by unscrewing it from the spout and rinsing away debris.
If your faucet works smoothly and the leak is gone, congratulations—you fixed it!
Common Mistakes to Avoid
Even simple repairs can go wrong if you rush or skip steps. Avoid these common mistakes:
- Forgetting to shut off the water supply before starting
- Using the wrong replacement parts
- Over-tightening screws or nuts, which can strip threads or crack fittings
- Losing small components during disassembly
- Ignoring corrosion or mineral buildup inside the valve
Taking your time and following instructions carefully will make your DIY repair go much more smoothly.
When to Call the Professionals
Sometimes, despite your best efforts, a faucet continues to drip or leak after you have replaced parts. That is often a sign of a deeper problem such as corrosion inside the valve seat, cracked plumbing, or high water pressure in the system.
You should call professionals if:
- The leak persists after replacing washers or cartridges.
- You notice water seeping under the sink or behind walls.
- The faucet body is cracked or corroded.
- You are unsure how to identify your faucet type.
- You want to upgrade to a new fixture but need expert installation.
DIY repairs are great for small issues, but when leaks involve hidden pipes or complex assemblies, it is safer and more cost-effective to rely on experts.
Why Calling Professionals Saves Time and Money
Hiring a plumber might seem like an extra expense, but it can actually save you money in the long term. Here is why:
1. They Diagnose the Root Cause
Professionals from Advanced Heat, AC, & Plumbing have the tools and experience to pinpoint the exact cause of a leak. Instead of replacing random parts, they address the underlying issue to prevent repeat problems.
2. They Have Specialized Tools
Some leaks require specialized tools or equipment that homeowners simply do not have. Using the wrong tools can damage fixtures and create bigger repairs.
3. They Guarantee Their Work
When you hire licensed plumbers, the work is backed by warranties. If a problem reoccurs, they return to fix it at no extra charge.
4. They Protect Your Home from Water Damage
What seems like a minor drip can lead to hidden leaks that damage cabinets, walls, or flooring. Professionals inspect for secondary issues and stop them before they become costly.
5. They Help You Upgrade Efficiently
If your faucet is outdated or inefficient, professionals can install water-saving fixtures that improve performance and reduce monthly water bills.
Choosing expert help means peace of mind, better results, and long-term savings.
Preventing Future Faucet Leaks
Once your faucet is fixed, a little maintenance goes a long way toward keeping it that way.
Best practices for faucet care
- Turn handles gently—avoid overtightening.
- Clean aerators regularly to remove mineral buildup.
- Wipe fixtures dry to prevent corrosion.
- Inspect under sinks for moisture every few months.
- Schedule annual plumbing maintenance to check water pressure and detect hidden leaks early.
Preventive care keeps your plumbing efficient and extends the life of your fixtures.
FAQs About Leaky Faucet Repairs
1. How do I know if my faucet leak is serious?
If water continues dripping after you replace washers or cartridges, or if leaks are coming from under the sink, call a plumber immediately.
2. Can I use plumber’s tape for faucet leaks?
Plumber’s tape is useful for threaded connections but will not fix internal leaks. Replace worn seals or washers instead.
3. What if my faucet handle is loose?
Tighten the set screw using an Allen wrench. If it still wobbles, the handle or stem may need replacement.
4. Should I replace or repair my faucet?
If the fixture is more than ten years old, corroded, or leaking in multiple places, replacement is usually more cost-effective.
5. Can a leaky faucet increase my water bill?
Yes. Even a slow drip can waste thousands of gallons annually, significantly increasing your bill.
Conclusion
Fixing a leaky faucet yourself can be satisfying, save water, and reduce waste—but only if done correctly. Start by identifying your faucet type, gather the right tools, and follow the proper repair steps. Many leaks can be solved in under an hour with basic supplies.
However, some problems run deeper than simple wear and tear. When you encounter persistent leaks, corrosion, or complicated plumbing issues, calling professionals is the smartest move. The certified team at Advanced Heat, AC, & Plumbing provides fast, affordable, and reliable faucet repair and replacement services throughout East Tennessee.
They can identify the source of the leak, repair it safely, and help you upgrade to more efficient fixtures. By trusting the experts, you save time, protect your home, and avoid future headaches.
Stop letting that drip waste your water and peace of mind. Whether you need quick DIY advice or full professional repair, the experts at Advanced Heat, AC, & Plumbing are here to help.

