How to Troubleshoot a Leaky Toilet Base
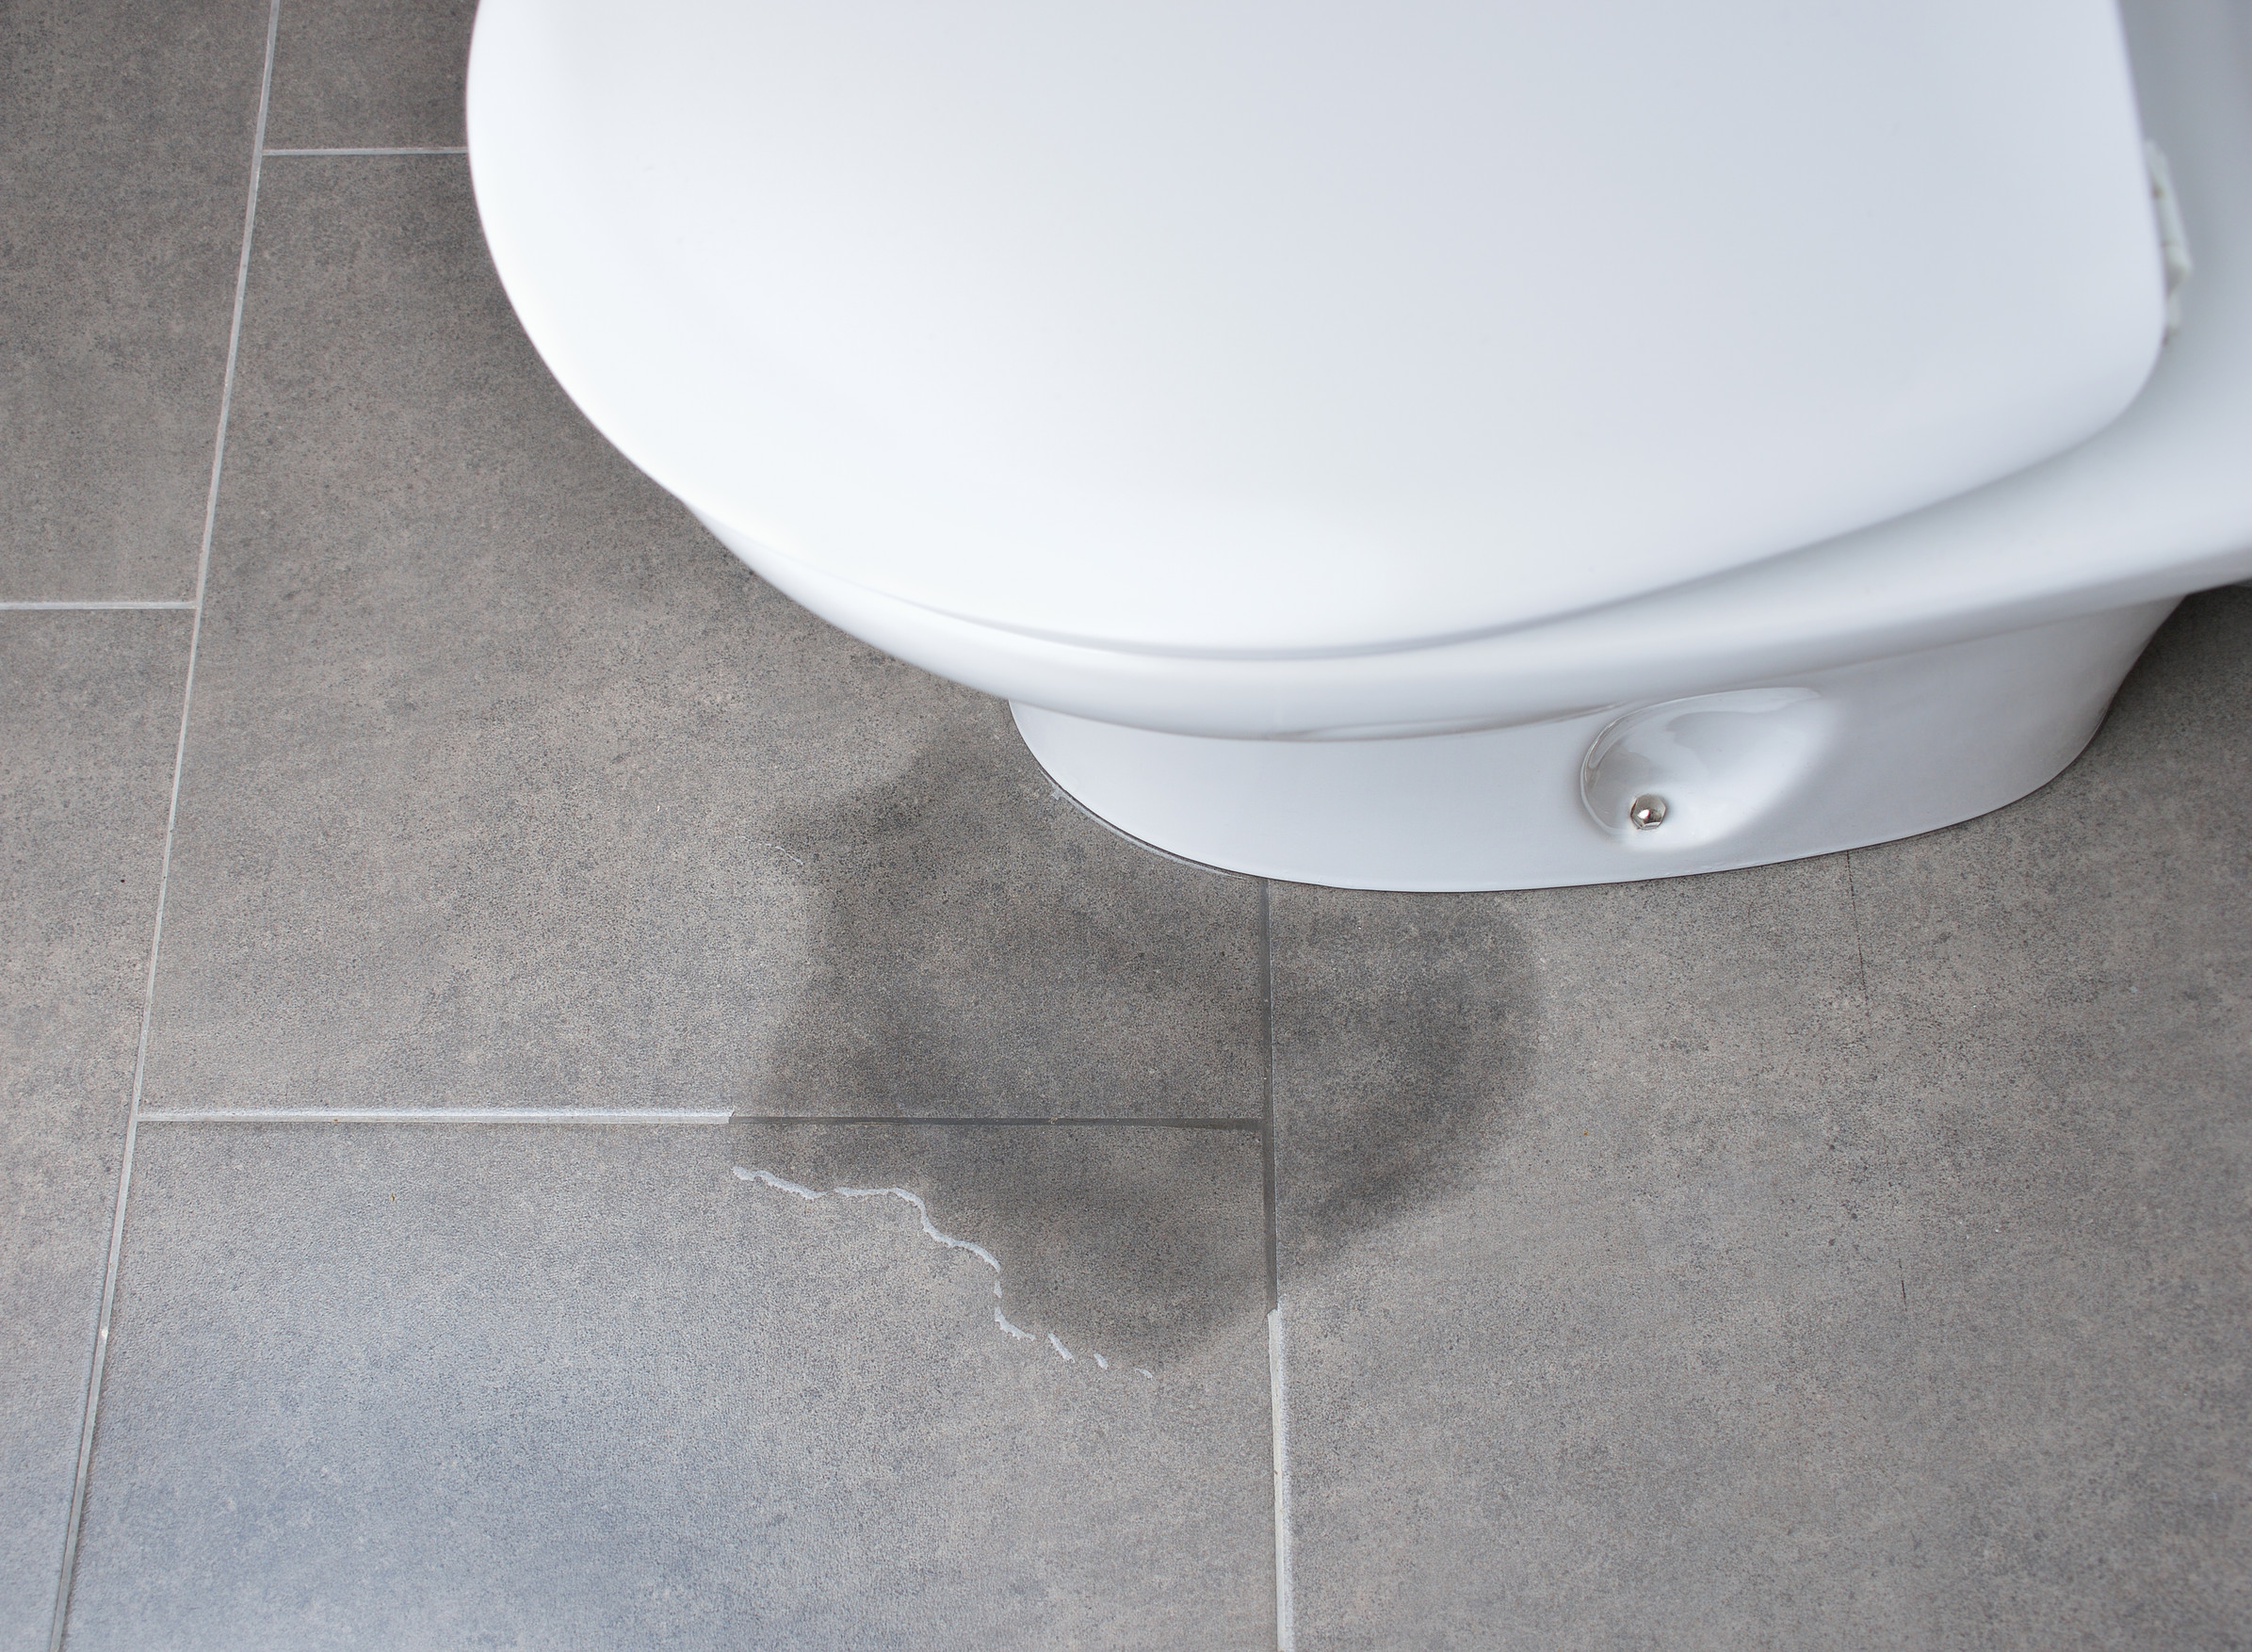
A little water around the toilet might not look like a big deal at first, but a leak at the base of your toilet can quickly turn into warped flooring, mold growth, and expensive repairs. That small puddle is often a sign that something is wrong with the wax ring, the mounting hardware, or even the toilet itself.
The good news is that many base leaks follow a predictable pattern and can be systematically checked at home. In this guide, you will learn how to tell if your toilet is truly leaking at the base, what typically causes the problem, which steps you can safely try on your own, and when it is smarter to call a professional like the team at Advanced Heat, AC, & Plumbing to protect your floors and subfloor.
Why a Toilet Base Leak Is Serious
Water around the toilet is never something to ignore. Even a small, slow leak can cause damage over time.
A base leak can lead to:
- Soft or spongy flooring near the toilet
- Stains on ceilings below the bathroom
- Mold and mildew growth in hidden areas
- Rotting subfloor and structural damage
- Unpleasant odors from damp materials or sewer gas
Because the water comes from either the bowl, the tank, or the waste outlet, it is not just clean tap water. It can carry bacteria and contaminants, which is why dealing with a leaky toilet base quickly is a sanitation issue as much as a comfort issue.
If you want a broader picture of how leaks affect your house, the guide on how to prevent costly water damage in your home is worth reviewing after you finish this toilet specific troubleshooting.
Step 1: Confirm It Is Really Leaking at the Base
Before you start tightening bolts or pulling the toilet, make sure the water you see is actually coming from the base. Another leak higher up can drip down and pool around the toilet, which can be misleading.
Dry everything and run a simple test
- Use towels or paper towels to completely dry the floor around the toilet.
- Wipe the outside of the toilet tank, bowl, and supply line so they are dry too.
- Flush the toilet several times while you watch closely.
- Check for fresh water seeping from:
- The connection between tank and bowl
- The supply line where it meets the tank or shutoff valve
- The underside of the tank
- The very base where the toilet meets the floor
If water appears only at the floor and seems to seep out right where the toilet meets the tile or vinyl, you are likely dealing with a base leak.
Rule out condensation
In humid conditions, cold water inside the tank can cause condensation on the outside. That moisture can drip down and puddle around the base, mimicking a leak.
You may be seeing condensation if:
- The tank feels cool and damp
- Droplets form on the outside of the porcelain
- The water appears even when the toilet has not been flushed recently
Dry the tank and wait without flushing. If new moisture shows up slowly over time on the tank surface, condensation may be the culprit.
Step 2: Look for Other Common Leak Sources
Before blaming the wax ring or the base, check a few other common trouble spots.
Supply line and shutoff valve
Inspect:
- The flexible supply line that runs from the wall or floor to the bottom of the tank
- The shutoff valve at the wall
Look and feel for:
- Beads of water or dampness on the line
- Slow drips from fittings or compression nuts
- Corrosion or mineral deposits around connections
A leak here can easily run down and collect at the base of the toilet.
Tank to bowl connection
On two piece toilets, the tank is bolted to the bowl with a gasket between them. If this gasket fails or the tank bolts loosen, water can drip from under the tank when you flush.
Signs of trouble include:
- Water appearing on the back of the bowl where it meets the tank
- Drips from the underside of the tank after a flush
If everything above looks dry and the only place you see water is right at the floor line, it is time to focus on the seal at the base.
For additional help with tank issues and internal components, the step by step guide on identifying and repairing running toilets to save water can help you understand how the inside of the toilet works and where other leaks may originate.
Step 3: Check if the Toilet Moves or Rocks
A properly installed toilet should feel stable when you sit on it or gently try to move it. If it rocks, shifts, or feels loose, that is a major clue.
Try this simple test:
- Stand facing the toilet and gently grab the bowl on each side.
- Gently try to rock it front to back and side to side.
If you feel movement:
- The closet bolts may be loose.
- The wax ring may no longer be sealing correctly.
- The flange or subfloor could be damaged.
A loose toilet compresses the wax ring unevenly. Over time, this creates gaps where water can escape with each flush.
The article on how to know when to repair or replace your toilet explains how frequent issues like rocking, cracks, or repeated leaks can sometimes mean replacement is a better long term solution than repeated patch repairs.
Step 4: Understand What the Wax Ring Does
Under the base of almost every standard toilet is a wax ring or a waxless sealing gasket. This ring sits on top of the toilet flange, which is attached to the drain pipe in your floor.
The wax ring has two key jobs:
- Create a watertight seal between the bottom of the toilet and the flange
- Seal sewer gases inside the drain, preventing odors from entering the bathroom
If the wax ring is old, compressed unevenly, damaged during installation, or disturbed by movement, that seal can fail. The result is water leaking at the base each time you flush, and sometimes a faint sewage smell.
If you have noticed a sewer odor along with the leak, take a look at the article on why your home smells like sewage indoors after this guide. It explains how failed toilet seals and other venting issues can create unpleasant smells and what they might mean.
Step 5: Safely Tighten Closet Bolts
If the toilet rocks slightly and you see water at the base, you can try gently tightening the closet bolts that hold the toilet to the floor. These are usually located under small plastic caps on either side of the base.
- Pop off the decorative caps at the base with a flat screwdriver.
- Use an adjustable wrench to tighten each nut a little at a time, alternating sides.
- Do not overtighten. Overdoing it can crack the porcelain base or warp the flange.
- After snugging the bolts, flush a few times and watch for leaks.
If tightening the bolts stops the movement and the leak disappears, you may have caught the problem early. Check the area over the next day or two to confirm it stays dry.
If the leak continues, or if the bolts spin without tightening, the wax ring or the flange is probably compromised and will need more involved repair.
Step 6: When You Need to Replace the Wax Ring
Replacing the wax ring is more than a quick tighten and requires removing the toilet completely. It is a common repair, but it can be heavy, messy work and must be done carefully to avoid damaging the toilet or flange.
Tools and supplies you will need
- Adjustable wrench
- Putty knife
- New wax ring or waxless seal
- New closet bolts, if the old ones are corroded
- Rubber gloves and rags or towels
- Bucket or small container for water from the tank and bowl
Basic steps to replace a wax ring
- Shut off the water at the toilet shutoff valve and flush to empty most of the water from the tank. Use a sponge or small cup to remove any remaining water from the tank and bowl.
- Disconnect the supply line from the bottom of the tank.
- Remove the closet bolt nuts at the base of the toilet.
- Carefully lift the toilet straight up and set it on towels or cardboard nearby. Toilets are heavy, so it is safer with two people.
- Scrape away the old wax ring from the flange and the underside of the toilet using a putty knife.
- Inspect the flange for cracks, corrosion, or damage. If the flange is broken or sits too low, it may need repair or replacement.
- Set the new wax ring in place on the flange or on the toilet outlet, depending on the product instructions.
- Lower the toilet straight down onto the flange, aligning the holes in the base with the closet bolts. Press down gently to compress the seal.
- Tighten the closet bolts evenly on each side, being careful not to over tighten.
- Reconnect the supply line, turn the water back on, and flush several times while checking for leaks.
If everything is dry and the toilet feels solid without rocking, you may have successfully fixed the base leak.
However, if you are not comfortable lifting and resetting a toilet or you suspect flange or subfloor issues, this is a repair that is often better handled by a professional. The pros can also look for any hidden damage caused by long term leaking.
Step 7: Watch for Signs of Hidden Damage
If the leak has been happening for a while, water may have seeped under the flooring or into the subfloor. Even after you fix the immediate leak, you need to watch for signs that deeper repairs are needed.
Warning signs include:
- Flooring that feels soft, spongy, or uneven around the toilet
- Discoloration or warping of vinyl, laminate, or wood
- Stains on the ceiling below the bathroom
- Persistent musty or damp smells
If you see these symptoms, there may be more extensive water damage that needs attention. The blog on early signs your home has hidden plumbing leaks goes into more detail about what to look for and why it is important not to wait.
You can also review how to avoid costly water damage from leaks for a full picture of how small leaks at fixtures like toilets can affect other parts of your house.
Step 8: Know When to Call a Professional
Some toilet base leaks are straightforward. Others involve deeper issues such as:
- A cracked toilet bowl or base
- A broken or corroded flange
- A rotted subfloor that will not hold the toilet securely
- Repeated leaks even after replacing the wax ring
You should strongly consider calling a licensed plumber if:
- The toilet rocks significantly or feels unstable
- You see obvious damage to the flange or subfloor once the toilet is removed
- Water has been leaking long enough to damage ceilings or flooring
- You have already tried tightening bolts or replacing seals without success
A professional can:
- Diagnose whether the toilet itself has a manufacturing crack or defect
- Repair or replace damaged flanges and subfloor materials
- Confirm that the toilet is reset correctly and securely
- Check for any related issues such as venting problems or hidden leaks in nearby lines
For prompt, local help with toilet leaks and all related plumbing issues in East Tennessee, you can always reach out through the plumbing services page to schedule an inspection or repair.
Step 9: Preventing Future Toilet Base Leaks
Once you fix a leak, you want to avoid going through it again. A few smart habits and checks can help.
Install correctly from the start
- Make sure the flange sits at the correct height relative to the finished floor.
- Use a quality wax ring or waxless seal that is appropriate for your toilet and flange.
- Tighten closet bolts evenly and gently.
Watch for early warning signs
- Investigate any wobble or rocking as soon as you notice it.
- Pay attention to small damp spots or recurring moisture around the toilet.
- Do not seal every edge of the base with caulk without leaving a small gap at the back. A visible gap can act as an indicator if water starts to escape.
For a broader prevention plan across your home, the guide on how to prevent plumbing leaks in your home offers simple steps and inspection ideas that apply to toilets, faucets, supply lines, and more.
Conclusion
A leaky toilet base may start as a small annoyance, but it is often a sign that the seal between your toilet and the drain has failed or that the toilet is no longer securely mounted. Left alone, it can cause serious damage to flooring and subfloors and create lingering odors or even mold problems.
By carefully confirming the source of the water, checking for movement, and ruling out supply line or tank leaks, you can narrow down whether a simple tightening or a full wax ring replacement is needed. Along the way, keep an eye out for signs of hidden damage and do not hesitate to call a professional if you see anything that looks beyond a basic repair.
If you prefer to skip the heavy lifting and uncertainty, the experienced plumbers at Advanced Heat, AC, & Plumbing can quickly diagnose the cause of a leaky toilet base, recommend the best solution, and make sure your bathroom is watertight again, so you can stop worrying about every little puddle on the floor.
Frequently Asked Questions About Leaky Toilet Bases
If you find water around the bottom of your toilet, it is normal to feel stressed and unsure what to do next. These questions and answers will help you understand what is happening, how serious it might be, and what steps to take.
1. How do I know if my toilet is really leaking at the base and not somewhere else?
First, dry the entire area around the toilet and the outside of the tank and bowl. Flush several times while watching closely. If fresh water seeps out right where the toilet meets the floor and the tank, supply line, and bowl all stay dry, you are most likely dealing with a base leak.
2. Can condensation on the tank make it look like the toilet is leaking?
Yes. In humid conditions, cold water in the tank can cause moisture to bead on the outside of the tank and drip down to the floor. If you dry the tank and do not flush, then see moisture slowly reappear on the outside of the tank rather than at the base, you are probably looking at condensation instead of a plumbing leak.
3. What is the most common cause of a leak around the toilet base?
The most common cause is a failed wax ring or seal between the bottom of the toilet and the flange on the floor. Over time, the wax can compress, crack, or be disturbed if the toilet rocks, allowing water and sometimes sewer gas to escape at the base with each flush.
4. Is water leaking from the toilet base dangerous to my health?
Water from a toilet base leak can contain bacteria and contaminants because it comes from the bowl and drain area, not just clean supply lines. While a small, short term leak is unlikely to cause serious illness, it is unsanitary and can lead to mold growth, so it should be treated as a health and hygiene issue and repaired quickly.
5. Why does my toilet rock or wobble, and can that cause a leak at the base?
A toilet rocks when the mounting bolts are loose, the flange is damaged, or the floor is uneven or softened by water damage. That movement compresses the wax ring unevenly and can break the seal. Once the toilet moves, it is much more likely to leak at the base and should be stabilized and resealed.
6. Can I fix a leaky toilet base just by tightening the bolts?
Sometimes gently tightening the closet bolts will stop a very minor leak caused by a slightly loose toilet, especially if the wax ring is still in good shape. However, over tightening can crack the porcelain or damage the flange. If the leak continues after careful tightening, the wax ring or flange likely needs to be repaired or replaced.
7. Do I always have to remove the toilet to fix a base leak?
If the leak is truly coming from the wax ring, then yes, the toilet usually needs to be removed so the old wax can be cleaned away and a new ring installed. You can sometimes rule out other causes, such as supply line or tank leaks, without pulling the toilet, but a failed seal at the base cannot be fixed from the outside.
8. How can I tell if the floor or subfloor has been damaged by a toilet leak?
Signs of damage include flooring that feels soft, spongy, or uneven near the toilet, discoloration or warping of vinyl or wood, and stains on the ceiling below the bathroom. A musty or damp smell around the toilet area can also indicate moisture has been trapped under the finished floor or in the subfloor.
9. Is replacing a wax ring a do it yourself job, or should I hire a plumber?
Replacing a wax ring is possible for a confident do it yourself homeowner who can safely lift and reset a toilet and is comfortable working with plumbing connections. However, toilets are heavy, flanges can be fragile, and hidden damage is common. If you are unsure, see damage once the toilet is up, or want to be certain the seal is perfect, hiring a licensed plumber is often the safer choice.
10. How can I prevent future leaks at the base of my toilet?
Prevention starts with a proper installation. That means a flange at the correct height, a quality wax or waxless seal, and evenly tightened closet bolts. After installation, avoid rocking the toilet, address any wobble early, and check periodically for moisture around the base. Leaving a small uncaulked gap at the back of the base can also help you spot a leak sooner instead of trapping water under the toilet.

