


Smart Thermostat Installation Guide for Knoxville Homes
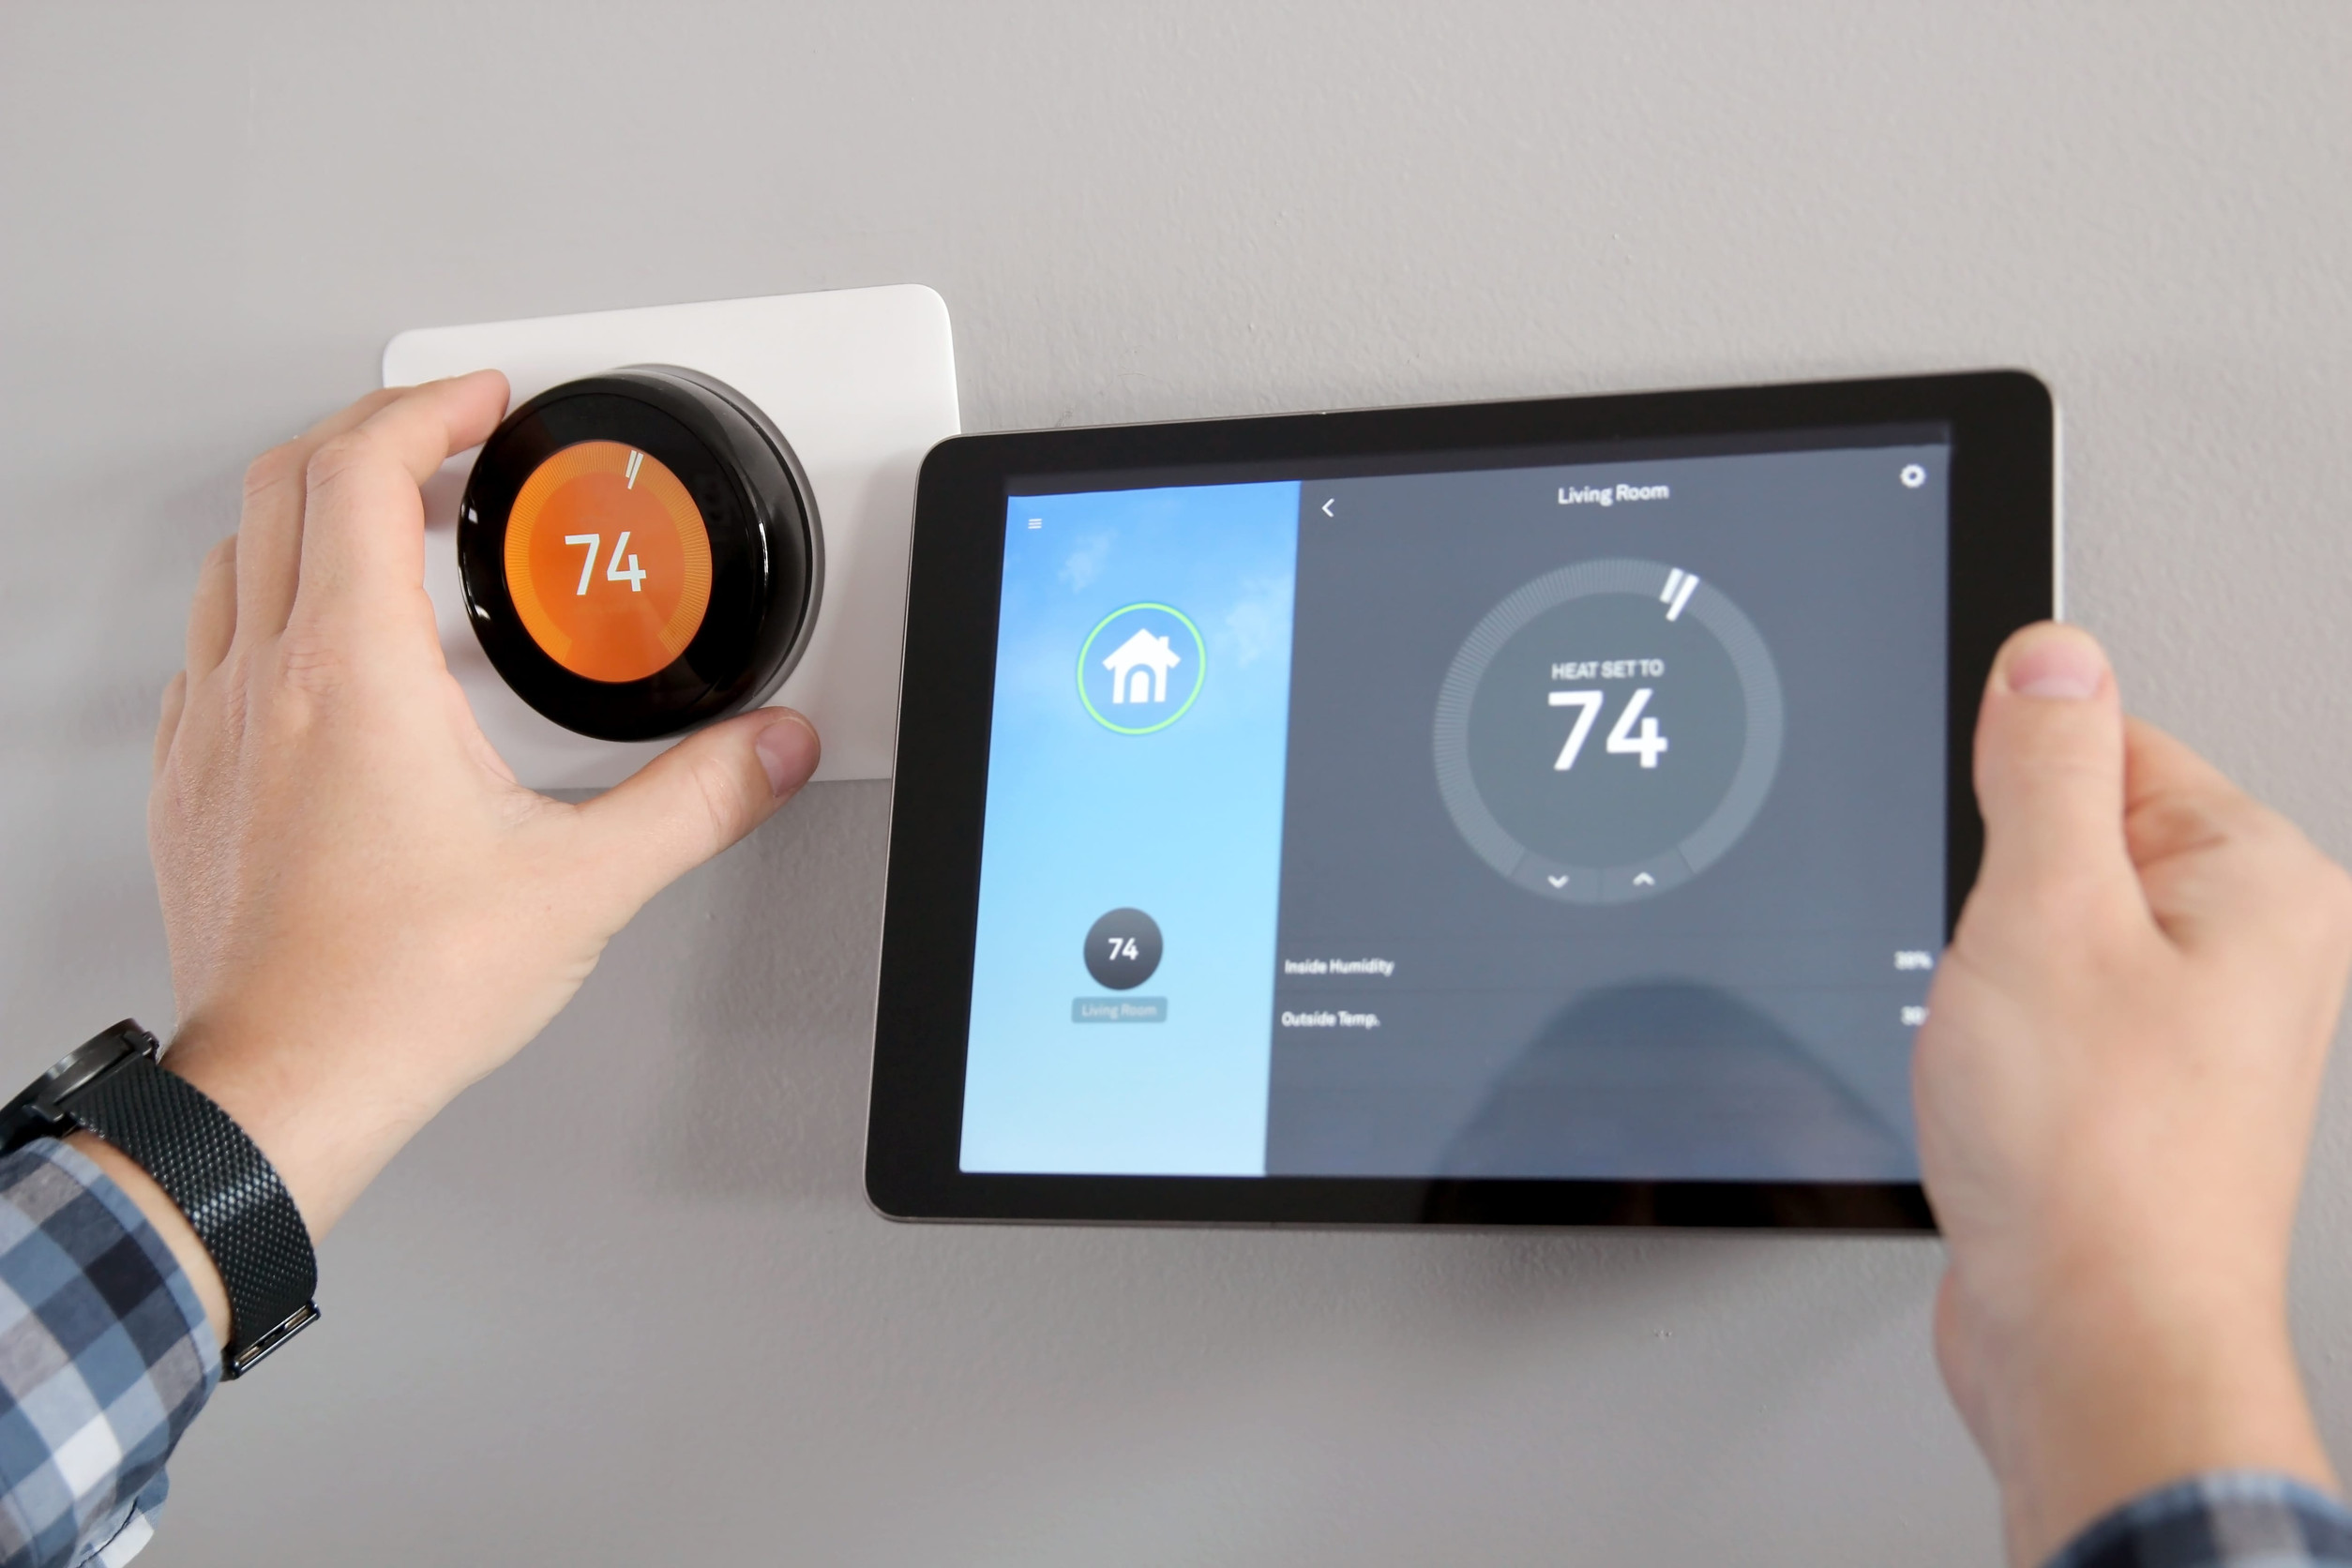
Upgrading to a smart thermostat is one of the most effective, cost-efficient home improvements a Knoxville homeowner can make. East Tennessee weather is famously unpredictable—you might run your heating system on a crisp Tuesday morning and switch over to air conditioning by Thursday afternoon. Navigating these swings manually often leads to skyrocketing energy bills and uncomfortable indoor temperatures.
Installing a smart climate control system bridges the gap between high comfort and low energy consumption. Whether you are aiming to lower your Knoxville Utilities Board (KUB) electric bill, manage indoor moisture levels during humid summers, or control your home’s temperature while away on vacation, this step-by-step installation guide covers everything you need to know to equip your home with the latest in smart thermostat technology.
Why Knoxville Homes Benefit From Smart Thermostats
Living in the Tennessee River Valley comes with distinct climate demands. Knoxville experiences hot, humid summers where ambient temperatures regularly push into the 90s, alongside winter dips that drop below freezing. Standard manual thermostats require constant physical adjustment to keep up with these variations, often resulting in wasteful heating and cooling cycles when no one is home.
Smart thermostats eliminate this guesswork by building custom heating and cooling schedules based on your routine, utilizing geofencing to adjust temperatures when you leave the house, and adapting to real-time local weather forecasts. In addition to convenience, learning how to properly set up a control system helps you save money on your energy bill with a new thermostat by reducing system workload during peak utility pricing hours.
+-----------------------------------------------------------------------------------+
|                        SMART THERMOSTAT BENEFIT SNAPSHOT                          |
+--------------------------+--------------------------------------------------------+
| FEATURE                  | HOMEOWNER BENEFIT                                      |
+--------------------------+--------------------------------------------------------+
| Geofencing               | Lowers heating/cooling usage when you leave home.      |
| Humidity Control         | Runs fan cycles to strip latent moisture in summer.    |
| Remote Access            | Adjust settings via smartphone from anywhere.          |
| HVAC Health Monitoring   | Alerts you to clogged filters or system performance.   |
| Utility Savings          | Reduces annual heating and cooling costs by 10–12%.    |
+--------------------------+--------------------------------------------------------+
Pre-Installation Check: Compatibility and System Requirements
Before purchasing a smart thermostat—such as a Google Nest, Ecobee, or Honeywell Home—you must confirm that the unit is compatible with your home’s existing heating and cooling infrastructure.
1. The Common Wire (C-Wire) Requirement
Smart thermostats feature bright touchscreens, Wi-Fi radios, and internal processors that require continuous 24-volt power. Legacy thermostats run on simple AA batteries or draw power only when the heating or cooling circuit is active.
                 [ 24V POWER CIRCUIT WITH COMMON WIRE ]

    [HVAC Transformer] ───(R Wire: 24V Power)───► [Smart Thermostat]
            │                                             │
            └────────────(C Wire: Return Path)────────────┘
The C-Wire (Common Wire) completes the continuous 24V power circuit from your HVAC system’s control board to the thermostat.
- If you have a C-Wire: Installation is straightforward plug-and-play.
- If you don't have a C-Wire: You have three options:
- Use a Power Extender Kit (PEK) or C-Wire Adapter (often included with modern smart thermostats).
- Utilize an unused wire hiding inside your wall casing.
- Hire a professional electrician or HVAC technician to run a new 18/5 thermostat wire bundle.
2. Identifying Your HVAC System Type
Knoxville homes feature a variety of heating and cooling configurations. Identifying your specific setup dictates how your new thermostat must be wired:
- Heat Pumps with Auxiliary Electric Heat: Extremely common across Knox and Blount counties. These systems use a reversing valve to alternate between heating and cooling, relying on electric resistance heat strips when outdoor temperatures plunge. If you are unsure how your backup heat operates, understanding the mechanical differences between heat pumps versus traditional furnaces is essential before connecting low-voltage wiring.
- Conventional Gas Furnace + AC: Found in many established Knoxville neighborhoods. Uses gas burners for winter heating and a standard central AC compressor for summer cooling.
- Dual-Fuel Systems: Combines an electric heat pump with a backup gas furnace for high-efficiency heating. Note: Dual-fuel configurations often require advanced thermostat setups or professional installation to properly control fuel switching thresholds.
Important Safety Note: Smart thermostats are designed for low-voltage (24VAC) systems. If your current thermostat is connected to thick wires secured with wire nuts, or is labeled 120V/240V, you have a line-voltage system (common with electric baseboard heaters). Connecting a standard smart thermostat to line voltage will destroy the device and poses a serious fire risk.
Step-by-Step Smart Thermostat Installation Guide
Installing a smart thermostat is a manageable DIY project for most homeowners when approached methodically. Follow these steps to ensure a safe, successful installation.
                  [ INSTALLATION FLOWCHART ]

  [Turn Off Power] ──► [Label Existing Wires] ──► [Mount Baseplate]
                                                        │
  [Restore Power]  ◄── [Attach Faceplate]    ◄── [Connect Wires]
Tools You Will Need
- Small Phillips and flathead screwdrivers
- Smartphone (for taking reference photos)
- Drywall anchors and screws (usually included with thermostat)
- Bubble level (often built into the thermostat baseplate)
- Masking tape or wire labels (included in the box)
- Voltage tester (recommended for safety)
Step 1: Turn Off Power to Your HVAC System
Never work on thermostat wiring with the power active. Shorting low-voltage wires can blow a fuse on your furnace control board, requiring a service call.
- Locate your main circuit breaker panel.
- Turn off the breakers for both your Furnace/Air Handler and your Air Conditioner/Heat Pump.
- Double Check: Flip your current thermostat to cooling mode and lower the setpoint. Confirm that neither the indoor blower nor the outdoor unit turns on.
Step 2: Remove the Old Thermostat Cover and Take a Photo
- Pop off the front cover plate of your old thermostat to expose the wiring wallplate.
- Do not disconnect any wires yet.
- Take a clear, well-lit photograph of the existing wire connections. This photo serves as your primary reference guide if wire colors do not follow standard industry conventions.
Step 3: Label the Wires and Disconnect the Old Baseplate
HVAC wire colors do not always match standard diagrams—the terminal letter matters far more than the insulation color! Use the sticker labels provided in your smart thermostat package to tag each wire according to the terminal letter it connects to on the old wallplate.
+-----------------------------------------------------------------------------------+
|                        STANDARD HVAC WIRING TERMINAL GUIDE                        |
+----------+--------------------+---------------------------------------------------+
| TERMINAL | TYPICAL WIRE COLOR | FUNCTION                                          |
+----------+--------------------+---------------------------------------------------+
| R / Rh   | Red                | 24VAC Power supply from transformer               |
| C        | Blue / Black       | Common wire (continuous 24V return path)          |
| W / W1   | White              | Heating circuit (Gas furnace or primary heat)     |
| Y / Y1   | Yellow             | Cooling circuit (AC compressor engage)            |
| G        | Green              | Fan relay (runs indoor blower fan)                |
| O / B    | Orange / Dark Blue | Reversing valve (for heat pumps)                  |
| Aux / E  | White / Brown      | Auxiliary/Emergency heat strips (for heat pumps)  |
+----------+--------------------+---------------------------------------------------+
Once every wire is securely tagged, unscrew the terminals, disconnect the wires, and gently unscrew the old baseplate from the wall.
Pro Tip: Wrap the loose wires around a pencil or tape them to the wall so they don't slip back inside the drywall opening!
Step 4: Mount the New Smart Thermostat Baseplate
- Thread the labeled HVAC wires through the center opening of the new smart thermostat baseplate.
- Position the baseplate against the drywall. If the old thermostat left unpainted drywall or screw holes, install the optional trim plate (cover plate) included with your new thermostat to hide imperfections.
- Use the built-in bubble level to ensure the baseplate is straight.
- Mark screw hole locations, insert drywall anchors if necessary, and secure the baseplate to the wall with the provided screws.
Step 5: Connect Wires to the Smart Baseplate
Insert each labeled wire into its corresponding terminal slot on the new baseplate. Most modern smart thermostats use push-in terminal blocks:
- Press down on the terminal tab.
- Insert the bare copper end of the wire straight into the port (ensure roughly 1/3 inch of exposed wire).
- Release the tab and give the wire a light tug to verify a firm connection.
                    [ SMART BASEPLATE TERMINAL WIRING ]

        ┌────────────────────────────────────────────────────────┐
        │  [R]  ──► Red Wire (24V Power)                         │
        │  [C]  ──► Blue Wire (Continuous Common)                │
        │  [Y]  ──► Yellow Wire (Cooling Compressor)             │
        │  [W]  ──► White Wire (Furnace / Aux Heat)              │
        │  [G]  ──► Green Wire (Blower Fan)                      │
        │  [O/B]──► Orange Wire (Heat Pump Reversing Valve)      │
        └────────────────────────────────────────────────────────┘
Step 6: Attach the Smart Display Plate and Restore Power
- Carefully align the smart thermostat faceplate with the baseplate push-pins and press firmly until it snaps into place.
- Return to your electrical panel and flip the circuit breakers for your indoor air handler and outdoor compressor back to the ON position.
- The smart thermostat screen should illuminate within 30 to 90 seconds.
Step 7: Complete Guided On-Screen Setup and App Pairing
Follow the on-screen configuration wizard to complete setup:
- Connect to Wi-Fi: Select your home network (note: most smart thermostats require a standard 2.4 GHz Wi-Fi band).
- Select System Type: Specify whether you have a furnace, heat pump, or dual-fuel system.
- Configure Reversing Valve (Heat Pumps Only): The wizard will ask if your O/B valve energizes in Cooling (O) or Heating (B).
- For Rheem/Ruud systems: Select B.
- For Trane, Carrier, Lennox, Goodman, and most other brands: Select O.
- Download App: Pair the device with your smartphone app to enable remote scheduling and energy tracking.
Optimizing Smart Settings for Knoxville’s Climate
Installing your smart thermostat is only half the process—configuring its settings correctly for East Tennessee conditions is where performance and cost savings align.
             [ SEASONAL THERMOSTAT STRATEGY FOR EAST TN ]

        SUMMER (High Humidity)               WINTER (Frost & Freeze)
     ┌──────────────────────────┐         ┌──────────────────────────┐
     │ • Daytime: 78°F          │         │ • Daytime: 68°F          │
     │ • Away: 82°F             │         │ • Away / Night: 62°F     │
     │ • Humidity Target: < 50% │         │ • Aux Heat Offset: 2-3°F │
     │ • Slow Fan / Dehum Mode  │         │ • Avoid Setbacks > 5°F   │
     └──────────────────────────┘         └──────────────────────────┘
1. Summer Dehumidification Management
During July and August, outdoor relative humidity in Knoxville frequently exceeds 80%. When indoor air feels muggy, homeowners tend to lower the thermostat setpoint to feel cooler, causing the AC unit to consume far more electricity than necessary.
Modern smart thermostats feature built-in humidity sensors and advanced cooling options:
- Enable AC Overcooling for Dehumidification: This setting allows the thermostat to run the cooling cycle up to 2 degrees below your target setpoint if indoor humidity exceeds 50–55%. Running longer, slower cooling cycles extracts significantly more moisture from indoor air.
- Optimize Fan Schedules: Set the HVAC fan to AUTO rather than ON. Leaving the fan running continuously in humid climates blows moisture sitting on the evaporator coil back into your living space.
Combining proper thermostat programming with effective techniques for managing East Tennessee humidity levels helps protect your home from mold growth and reduces air conditioner wear. For maximum summer efficiency, consult our guide on smart thermostat summer savings.
2. Winter Setpoint Strategy for Heat Pumps
Unlike conventional gas furnaces that produce rapid, high-temperature heat, electric heat pumps operate most efficiently when maintaining steady indoor temperatures.
- Avoid Extreme Setback Swings: Lowering your thermostat by 10 degrees at night might save energy on a gas furnace, but on a heat pump, raising the setpoint 10 degrees in the morning triggers expensive auxiliary electric resistance heat strips. Keep winter temperature setbacks to 3 to 4 degrees maximum.
- Set Emergency Heat Lockouts: Configure your smart thermostat’s compressor lockouts. Modern heat pumps operate effectively down to 25–30°F before needing backup electric heat.
For a deeper dive into seasonal setpoint recommendations, check out our guide on the best thermostat settings for seasonal comfort.
Troubleshooting Common Installation Issues
If your installation doesn't go smoothly, don't panic. Below are solutions to the three most common DIY setup problems.
+-----------------------------------------------------------------------------------+
|                           TROUBLESHOOTING MATRIX                                  |
+--------------------------+----------------------------+---------------------------+
| SYMPTOM                  | LIKELY CAUSE               | SOLUTION                  |
+--------------------------+----------------------------+---------------------------+
| Blank Screen / No Power  | Blown fuse; loose C-wire;  | Check 3A/5A fuse on HVAC  |
|                          | air handler door open.     | board; verify wire seating|
+--------------------------+----------------------------+---------------------------+
| Heat pump blows COLD air | Incorrect O/B reversing    | Reconfigure O/B terminal  |
| when calling for heat    | valve setting in software. | option (switch O to B).   |
+--------------------------+----------------------------+---------------------------+
| System short-cycles      | Loose temperature sensor;  | Adjust swing temperature; |
| (turns on/off rapidly)   | bad air filter; bad location| relocate from direct sun. |
+--------------------------+----------------------------+---------------------------+
Problem 1: The Thermostat Screen Won't Turn On
- Check the Air Handler Door: Most indoor furnace cabinets have a safety switch that cuts power if the access door is not fully closed.
- Inspect the C-Wire: Ensure the common wire is connected to both the thermostat baseplate and the C terminal on your HVAC control board inside the furnace/air handler.
- Check the Control Board Fuse: If low-voltage wires touched during installation while power was on, the small purple (3-amp) or amber (5-amp) automotive-style fuse on your furnace control board may have blown. Replace it with an identical fuse.
Problem 2: Cooling Comes On When You Call for Heat (Heat Pumps)
This is the single most common issue encountered when installing a smart thermostat on a heat pump system.
- The Fix: Go into your thermostat’s device settings on the screen or mobile app. Navigate to Equipment / Wiring / Heat Pump Setup and toggle the O/B Reversing Valve logic. If it is currently set to "Energize on Cool (O)", switch it to "Energize on Heat (B)", or vice versa.
Problem 3: Wi-Fi Keeps Disconnecting
- Check Signal Strength: Smart thermostats feature small internal antennas. If your router is far from the hallway where your thermostat is mounted, consider installing a Wi-Fi range extender.
- Verify Frequency Band: Ensure your router broadcasts a distinct 2.4 GHz network, as many smart thermostats cannot connect to 5 GHz bands.
When to Call a Knoxville HVAC Professional
While many smart thermostat upgrades are simple DIY tasks, certain home mechanical systems present complex wiring challenges that warrant professional intervention.
                      [ WHEN TO CALL A PROFESSIONAL ]

  DIY Friendly                              Professional Required
  ┌──────────────────────────┐              ┌──────────────────────────┐
  │ • Standard 24V System    │              │ • Missing C-Wire w/ No   │
  │ • Existing C-Wire present│              │   Access to Control Board│
  │ • Single-Stage Heating   │              │ • Dual-Fuel (Gas + Pump) │
  │   and Cooling Units      │  ────────►   │ • Multi-Zone Systems     │
  │ • Simple Heat Pumps      │              │ • 120V/240V Line Voltage │
  └──────────────────────────┘              └──────────────────────────┘
It is best to consult an expert technician if:
- Your system lacks a C-Wire and you are uncomfortable opening your furnace cabinet to install a C-Wire adapter or power extender kit.
- You have a Dual-Fuel system (a heat pump matched with a gas furnace backup), which requires precise outdoor temperature sensor integration or advanced staging logic to prevent both systems from running simultaneously.
- Your home uses a zoned HVAC setup with motorized dampers and a master zone board.
- Your system experiences underlying performance issues—a smart thermostat cannot fix an undercharged compressor, leaking ductwork, or a failing blower motor.
If your heating or cooling system is aging or struggling to maintain comfortable temperatures, upgrading your thermostat alongside a professional HVAC installation guarantees seamless integration, maximum SEER2 efficiency, and long-term reliability.
Keeping your system performing at peak capacity year-round starts with preventative care. Enrolling in a preventive HVAC maintenance plan ensures certified technicians inspect your low-voltage wiring, clean coils, calibrate sensors, and keep your indoor climate system operating at peak efficiency.
Taking control of your home's indoor climate has never been easier. By choosing the right smart thermostat, following proper installation protocols, and fine-tuning your settings for East Tennessee's unique seasonal swings, you can enjoy ideal home comfort and noticeable energy savings month after month.
If you run into wiring hurdles, need help selecting the perfect control system for your home, or want to ensure your heating and cooling equipment is fully optimized, the local experts at Advanced Heat, AC & Plumbing are here to help. Contact our experienced team today to schedule your smart thermostat setup or comprehensive home climate audit!


